
Now that the pine needles have hit the floor and the holidays pounds have hit my hips, I've been trying to think of ways to finish the year off right and start 2016 off strong with my kids. One of the things we like to do as a family daily is to reflect on things we can give thanks for, and we're so thankful that we were really blessed this holiday and received gifts from friends and family. I try to write thank you cards for them, and this year we decided to make handmade thank you cards. These are super easy and look beautiful, plus you can customize them to make them as simple or as fancy as you like! My daughter loved painting these, and watching the paint spread.

Materials:
- watercolor paper
- watercolor paint (you can also use watered down tempera or acrylic, but it may look slightly different)

- watercolor paintbrush (we used one like this, where the water is loaded right in the brush)
- bowl with water
- masking tape
- paper trimmer
- adhesive (like glue, tape runner etc.)
- marker
- cardstock for card bases (optional)
- other embellishments like ribbon, brads, etc. (optional)


- Use masking tape to tape down the edges of your watercolor paper so it doesn't wrinkle. It also gives your painting a nice frame and gives little ones a border so paint doesn't go everywhere! My 3-yr-old loved helping with this step.

- If you want to try the wet-on-wet technique to get a blurred effect, wet your entire paper with clean water. Re-wet it as necessary as you go.

- Have your little one use a wet brush and some paint to apply color to the paper. The best part of this is that it really doesn't matter how the paint is applied! It looks great pretty much any way it's done! (Sidenote: I am a paint neat-freak and insist on copious amounts of brush-rinsing between colours. You, however, can be as casual or strict with paint mixing as you'd like!)

The images on top use the wet-on-wet technique, and the bottom is wet-on-dry

- Allow the paint to dry, or have fun drying it with a hair dryer if you're impatient like I am.


- Remove the tape, keeping it close to the surface of the paper as you remove it (see the photo below. Don't pull it up into the air, or your paper may rip).

- Cut the paper into pieces for the front of your cards. I cut mine approx. 5" x 4" to put on card bases 5.5" x 8" (folded in half).


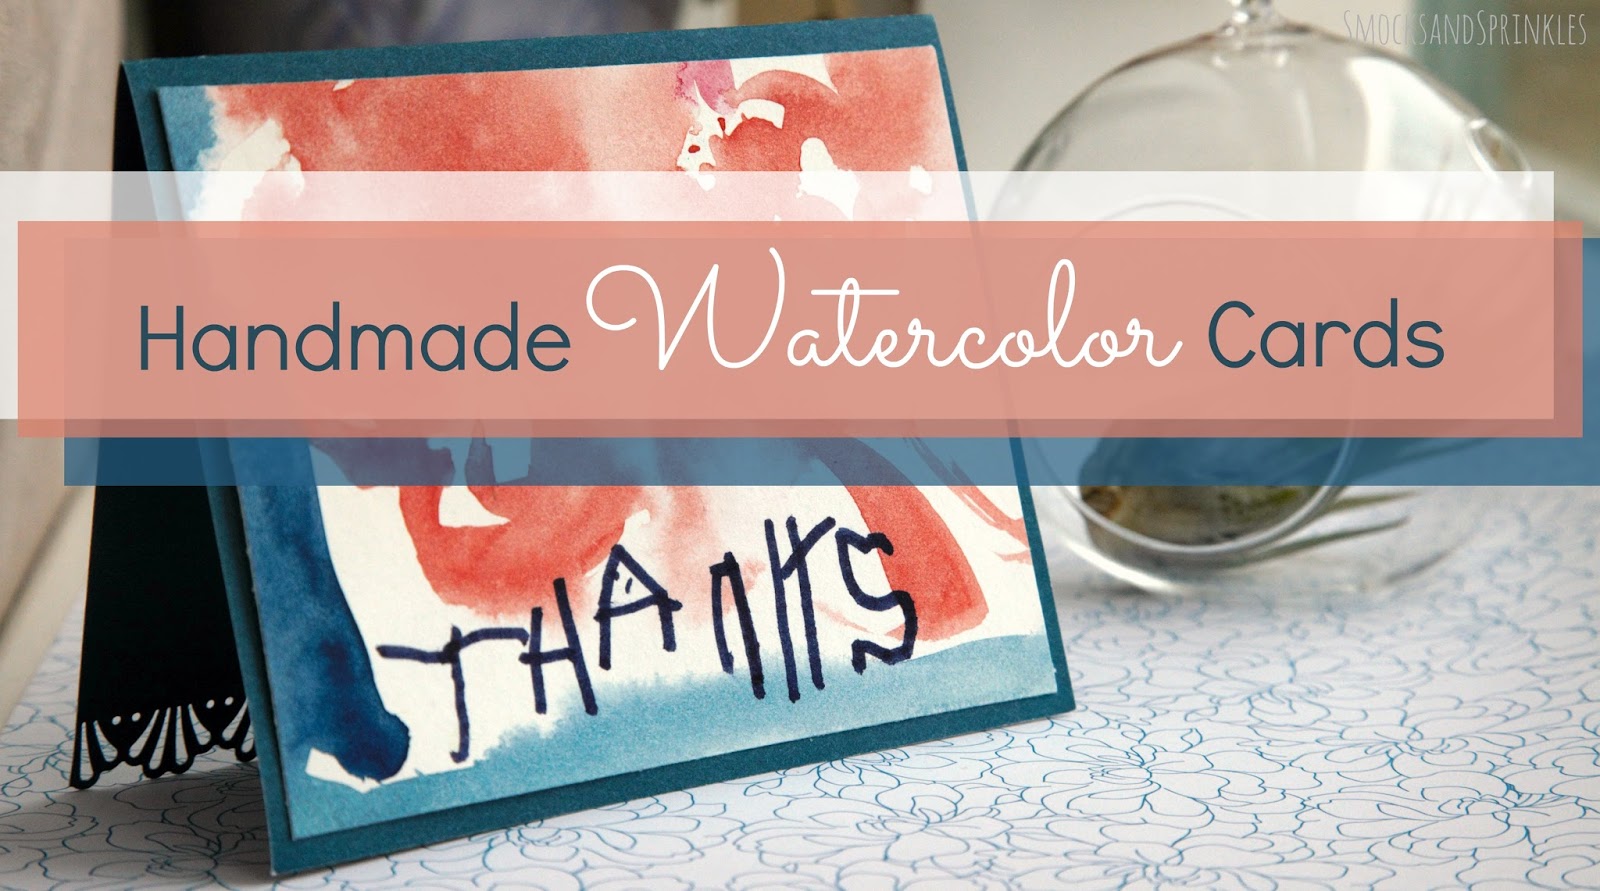
- Have your little one write out, "Thanks" or a similar greeting, or stamp/write it on yourself. I used dots to write out some of the letters she didn't know and had her trace over them.

She also "decorated" and wrote on the backs. - Adhere the paintings to the front of your card bases, or leave them as is to make them into notecards.


 |
| Just a stamp and a decorative punch to add the greeting! |


Aren't you impressed with how amazing they look once they're mounted? The trimming really makes a difference! You can use these paintings as a base for any kind of card, so take advantage of these cold days in to have your child paint a stack and have them ready for any occasion. It keeps them busy, and you can also use the activity to have an educational color-mixing lesson if you'd like!


Let us know if you make these, and tag us if you Instagram (@smocksandsprinkles) or Facebook them! And thank you all for an amazing 2015! We appreciate all of you who read our blog, comment, and share our posts.

No comments:
Post a Comment